

Forensics 101: First Archeological Evidence of Buckshot Injuries
/
Battlefield momument
This story is kind of a fun one for me. Not only is it research coming out of my university, but it’s a battlefield site that’s only about 20 minutes from home.
The Battle of Stoney Creek was one of the earlier battles of in the War of 1812 (1812 – 1815). Following the American victory in the Battle of Fort George in Niagara-on-the-Lake, 3,400 American troops camped for the night in Stoney Creek. Even through the British only had 1,600 men, reconnoitering showed them the Americans were badly organized and only thinly sentried with an elongated, broken line of encampment. This was true; in fact, when the battle started, only 1,328 American soldiers out of the total 3,400 were positioned to join the fighting.
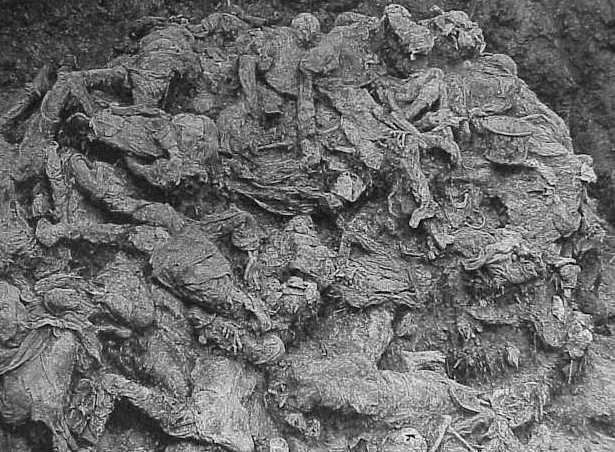
Armed with muskets and bayonets, 700 British troops left their camp at 11:30pm, killing the few sentries on duty before moving in to start the battle proper. However, the Americans held the high ground, firing a variation of the traditional ‘buck and ball’ down onto the British, having loaded their muskets with 12 buckshot balls, essentially turning them into shotguns. The Americans held their position and were well on their way to victory when a gap formed in their line, leaving their artillery unprotected and allowing their guns to be taken and their men killed by the British. In fact, the chaos from the lack of light and the uncharacteristic close-quarters fighting led to American officers coming to investigate what they assumed was a commotion produced by their own men. Instead they were taken prisoner by the British. Without direction from their generals, the American soldiers started to wander aimlessly in the dark and many were cut down by their own countrymen. In the confusion, the Americans pulled back to end the battle, unaware they still held both the superior position and number of men. They retreated back to 40 Mile Creek in Grimsby and then finally back across the Niagara River to U.S. soil, never venturing as far into Upper Canada again. The battle only lasted 45 minutes, but by the end, 39 men were dead, 174 were wounded and 152 were captured. Many of the soldiers were quickly buried on site in a mass grave.
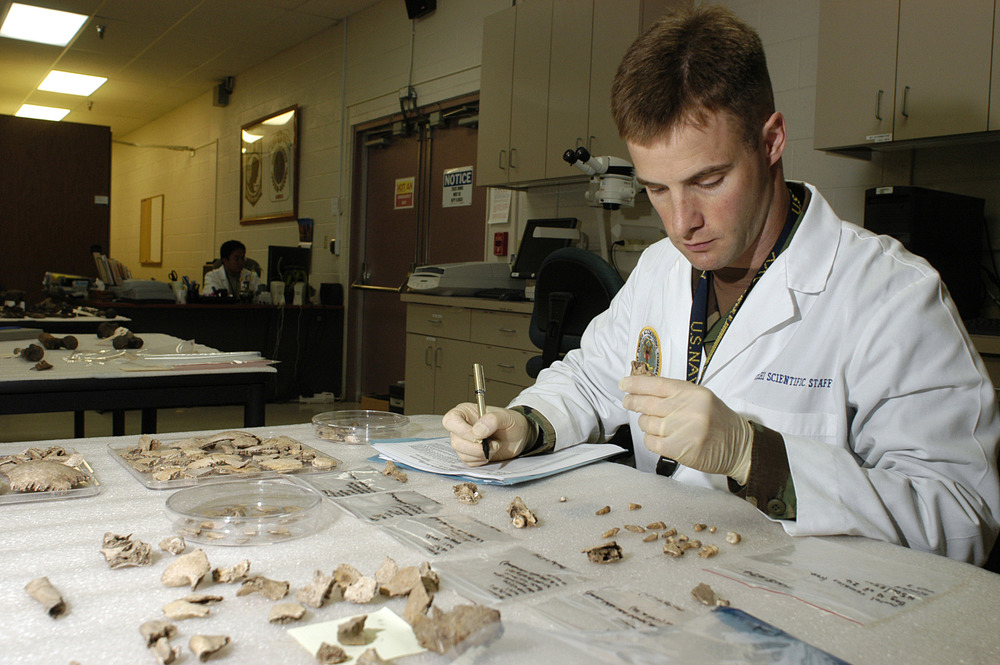
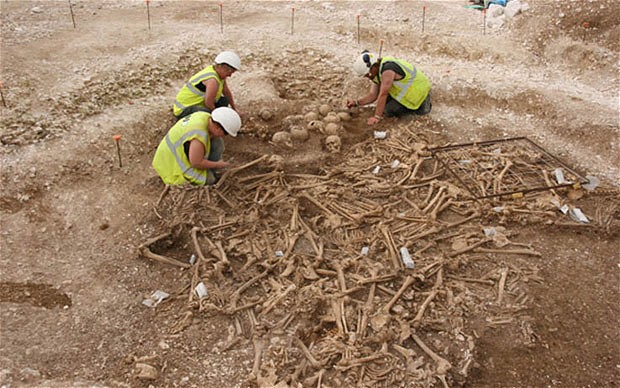
In 1899, farmer Allan Smith unearthed human remains and pieces of cloth bearing both the British and American insignias while plowing his land. That area, now called Smith’s Knoll, was finally excavated in 1998 and examined. The excavation revealed 2701 co-mingled skeletal components from 24 individuals. Skeletal remains showed signs of sharp force and projectile trauma, as well as perimortem (at time of death) fractures. In the past, bone injury from musket balls has been well documented, but archeological buckshot injuries had yet to be verified. Whether the dearth of information of this type of injury comes from a lack of evidence (as the British did not use this type of ammunition; it was only used by the Americans) or because there is simply less bone damage and more associated soft tissue damage from buckshot is unknown.
We’ve shown the damage modern bullets can do to bone, but 0.65 caliber musket balls and 0.31 caliber buckshot of the early 19th century were very different: Made of soft lead, projectiles would often become misshapen upon striking the body. Buckshot especially would often become so misshapen, it could penetrate the body, but could not pass through it. As opposed to modern bullets, lead balls and buckshot would only glance off bone, or penetrate enough to become embedded. High-velocity, through-and-through, jacketed ammunition would not exist for another 50 years.
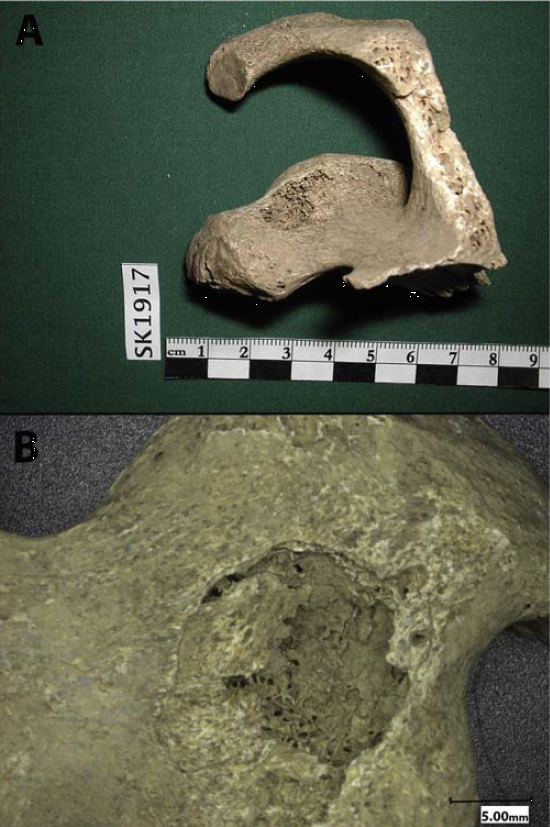
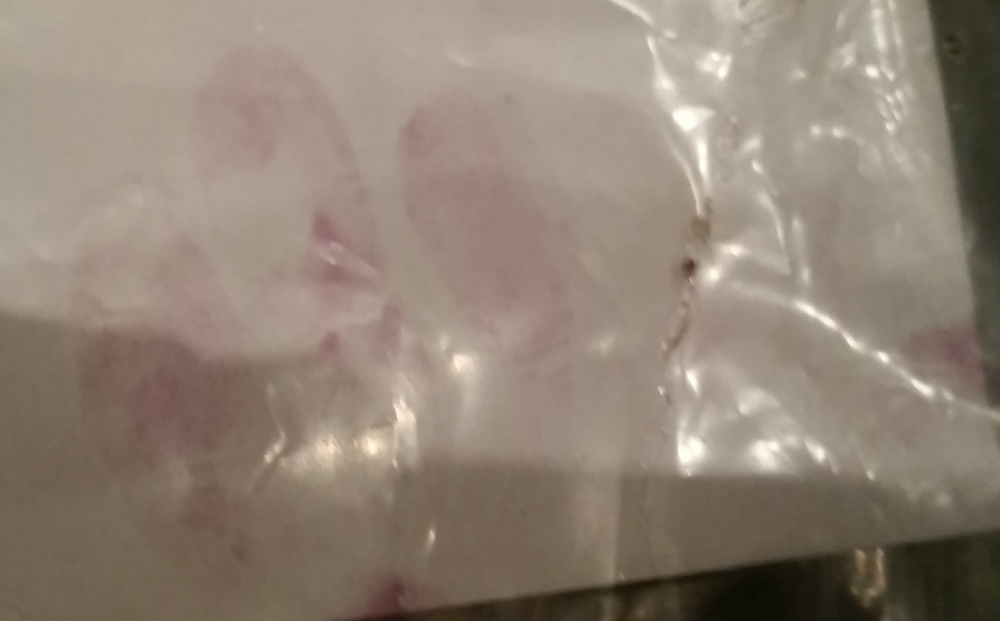
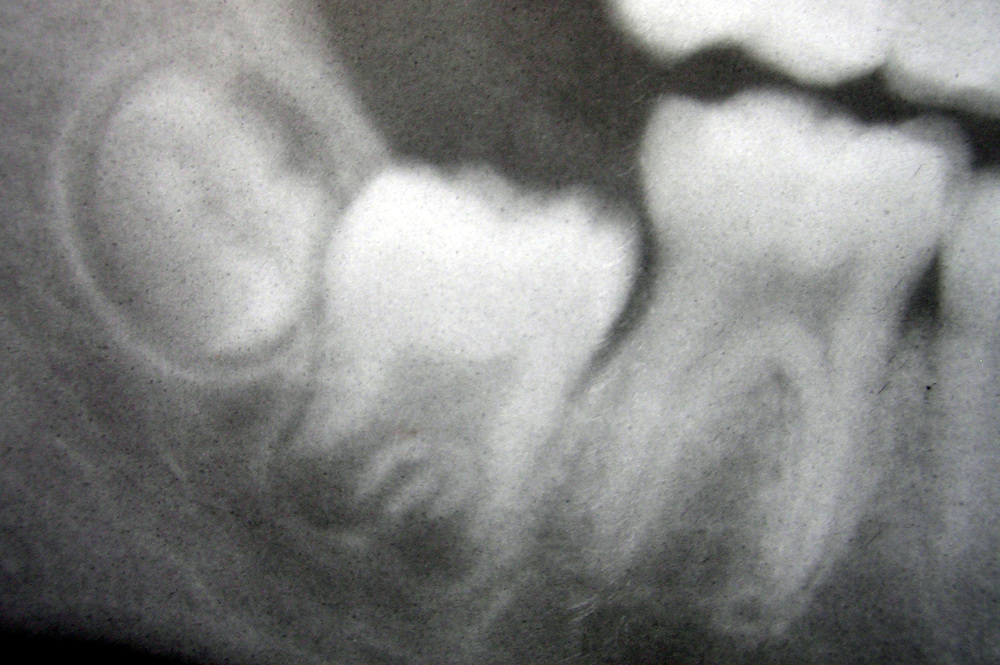
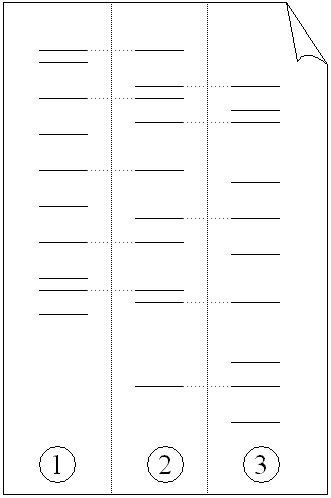
Smith’s Knoll Scapula with buckshot defect.
Researchers at McMaster University experimented with cloth-encased butchered pork as a substitute for a fleshed human hip in a soldier’s uniform, test firing both the traditional-for-the-time ‘buck and ball’ (a musket ball with 3 smaller buckshot) and buckshot only (with 12 buckshot per cartridge). Their results indicate that some injuries seen in the Smith’s Knoll remains came from buckshot injuries. Instead of the sharply angled, penetrating defects we’re familiar with today, many of the defects were no more than minor depressions, indicative of a low-velocity projectile that has spent most of its energy penetrating cloth, skin and muscle before striking bone. Some bones had multiple defects, clustered close together, indicating buckshot fire from close range, not allowing the buckshot to separate as it left the musket and flew through the air. Due to the known history of the battle, it is impossible to tell if the skeletal remains are those of British soldiers cut down by American militia, or militiamen felled by friendly fire.
The War of 1812 is a curious thing. It went on for nearly three years, and is considered to this day by Britain to be a minor part of the Napoleonic Wars. The British torched the White House in 1814 and kept the Americans at bay during a number of decisive battles in Southern Ontario (does anyone but a Canadian know the name ‘Laura Secord’?) avoiding being annexed to the United States, but didn’t fare well in fighting in New Orleans or Baltimore. By 1815, when the Treaty of Ghent was signed to bring an end to hostilities, nearly 20,000 men were dead, a military stalemate was called, and the borders remained exactly where they were. However, due to the lack of clear winners or losers, no bad feelings persisted and friendly trade immediately resumed.
Photo credit: Wikimedia commons by Nhl4hamilton and L. Lockau et al


 COMPLETE!
 Planning